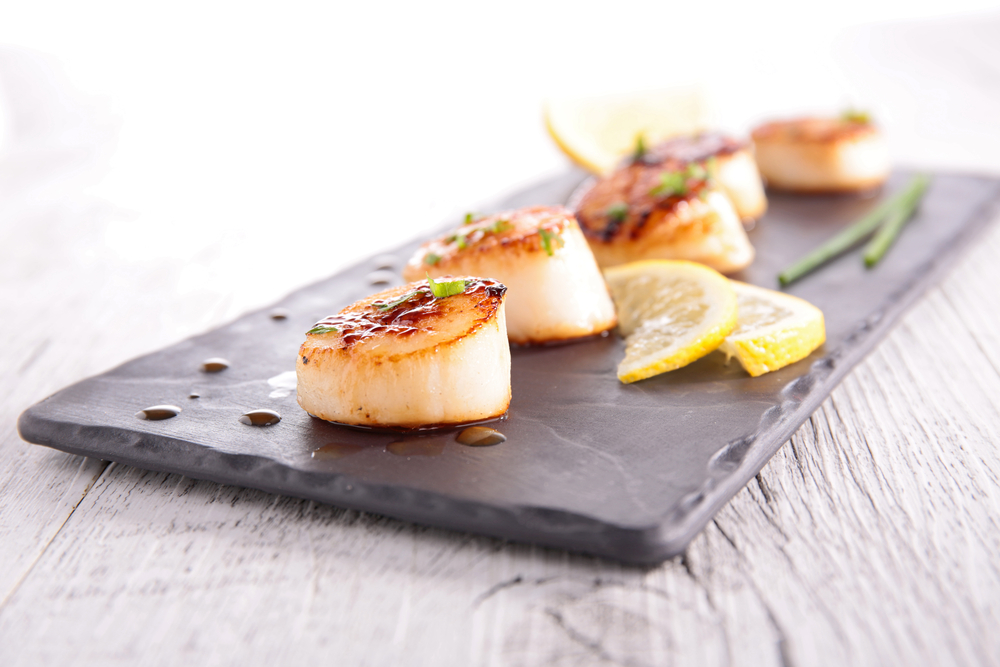
Scallops are tantalizing little morsels of deliciousness — but only when cooked right. Otherwise, they are tough, chewy, and lacking all of the flavors of the sea. Unfortunately, they are also rather temperamental and difficult to perfectly prepare at home.
For that reason, they tend to empty the pocketbook fast as you seek them out at high-end restaurants. But no more! With this guide on hand, you can learn how to create mouthwatering scallops and have them whenever cravings arise.
Best Cooking Method for Scallops
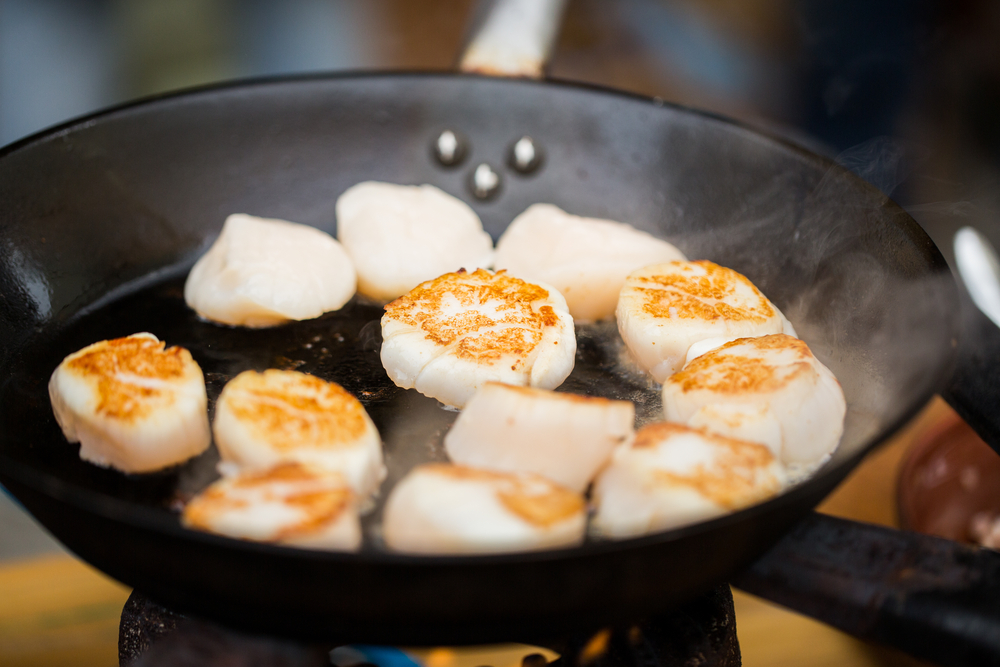
There’s no doubt about it. If you want scallops that are good enough to write home about, you have to pan sear them. Once you get that method right, you can go all out in trying to make the bacon-wrapped variety if you dare. But for now, focus on using your frying pan as your tool of choice in cooking heavenly scallops each and every time.
How to Find Fresh, Tasty Scallops
Although it’s always best to get scallops fresh from a local fish market, not everyone lives close enough to the coast to be able to do that. If you don’t, no worries, you can actually get high-quality scallops from the supermarket.
No matter where you go, make sure to look for scallops that are labeled as wet or dry. With that label available, you avoid wet scallops, which resist a nice sear. The preservative solution they sit in causes them to release too much water for a good browning effect to occur.
Dry scallops do not have a chemical solution to sit in, so they are typically as fresh as they can be. Beyond that, the lack of that preservative means the scallops develop a beautiful sear on both sides without overcooking.
Remember: It’s All in the Prep Work
Once you get your scallops home, get prepped for the cooking process since it’ll go fast once you start. To begin, lie a paper towel on your counter and place the scallops on top. Never rinse your scallops since that introduces extra moisture that’ll ruin the sear.
With them all laid out in a row, use another paper towel to pat their tops dry, and then sprinkle them with black pepper and sea salt. You’ll season the other side once you flip them in the pan, so don’t worry about that.
While those sit for a moment, pull out your cast iron pan and a stick of butter. Don’t use margarine. Only real butter will do. Also, for the initial cooking phase, grab your bottle of high smoke point oil, like:
- Avocado oil
- Extra virgin olive oil
- Safflower oil
If you want true decadence, however, skip all those options and bring out the clarified butter instead.
No matter what you pick, add your oil of choice and heat up your cast iron pan until blazing hot. Never add scallops to a cold pan or they will overcook well before the sear develops.
Tips for Getting the Sear Just Right
If you want your scallops to leave the pan with a perfect sear on both sides, you simply need to have faith in the process. You cannot start worrying over the dish and moving them around. You just have to let them cook.
So, once your pan is wicked hot, put the scallops in with the seasoned side down. Keep track of their placement in the pan by using a clock as your guide. Start at 12 o’clock and work around the outside of the pan, placing them one by one. Do not let the scallops sit too close together or they will steam each other.
Once the last scallop joins the party in the frying pan, set a timer for two minutes and not a second more. While the timer counts down, season the scallops once again with salt and pepper. Beyond that, do not touch them. At the end of the two minutes, flip the scallops, starting with the first one you put in the pan. You should notice that they each have a golden brown sear all across their surface.
Add a tablespoon of butter to grease up the pan and help add richness to the scallops as they cook the rest of the way. Let them go for two minutes without being bothered. Use a timer if it helps you stay patient and hands-off while they do the heavy lifting.
How to Tell if Your Scallops are Done
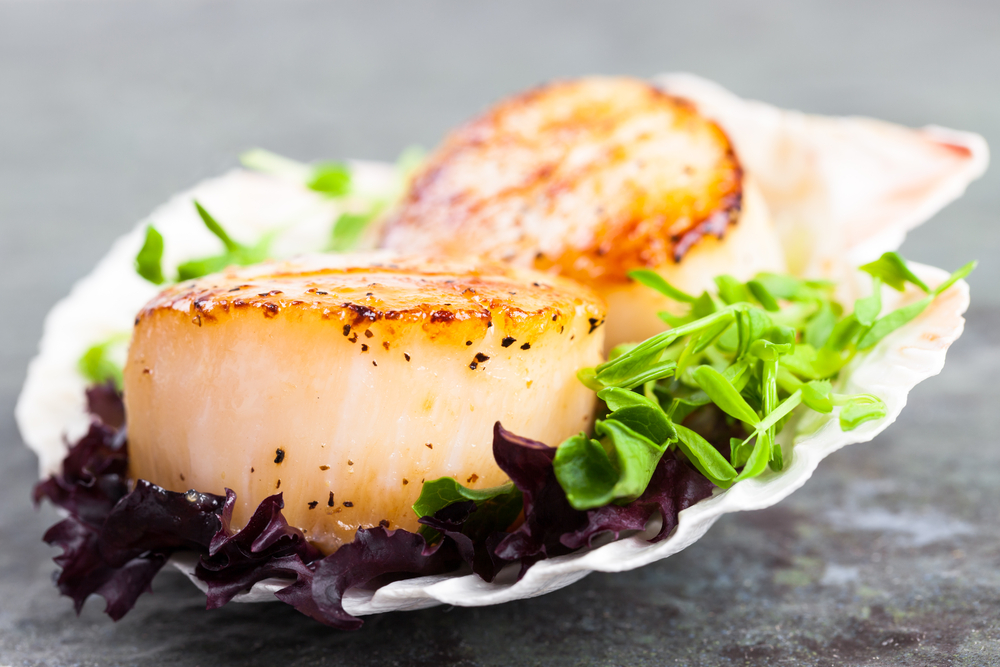
You know your scallops are done when both sides are seared a beautiful golden brown and the center is no longer translucent. If they’re not 100% opaque, but rather close, at the end of the four-minute cooking time, don’t fret. They will keep cooking for a minute or two more once you pull them out of the pan.
You will want to immediately transfer them to your serving dish and get them to the table once they’re done. That way, they do not get overcooked nor get cold before anyone has a chance to eat them. Scallops are best enjoyed fresh off the heat, so make sure they’re the last thing you bring to the table.
What to Serve with Your Scallops
Since timing is everything with scallops, it’s best to serve them with things that you can make ahead of time. They also pair well with something fresh and bright that doesn’t overpower their rich, buttery flavor.
For those reasons, green salads work incredibly well, especially if you pair it with a lemon vinaigrette. They also work well with a pesto pasta, brown butter polenta, or roasted Brussel sprouts if you prefer.
Now that you understand just what it takes to make your scallops turn out right, it’s time to grab your ingredients and get going. Don’t worry if it takes you a couple of tries to get it just right. There’s definitely a steep learning curve when it comes to frying up scallops to perfection. But once you master the technique, you’ll be simply unstoppable.

